Monday, October 29, 2012

October Bella Altered Projects

I'm so thrilled to be up at Bella today with my first ever altered projects!  I actually created a few projects when I got my box of goodies so I will be sharing those later, but these are the ones I picked for this month.
 
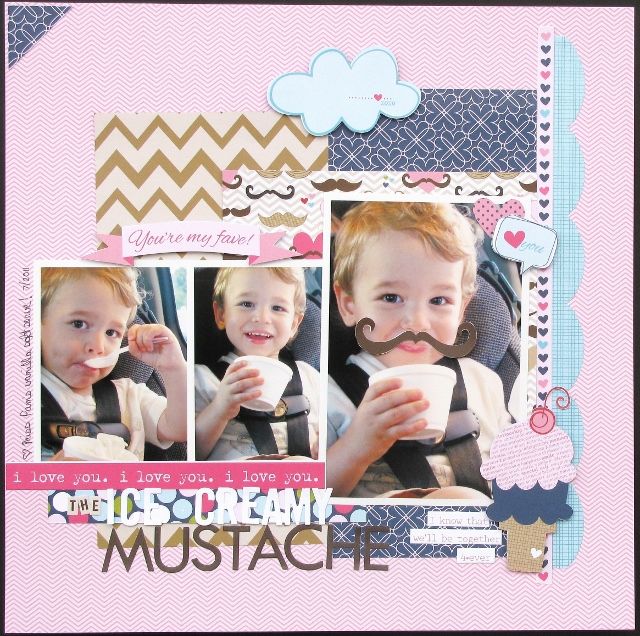
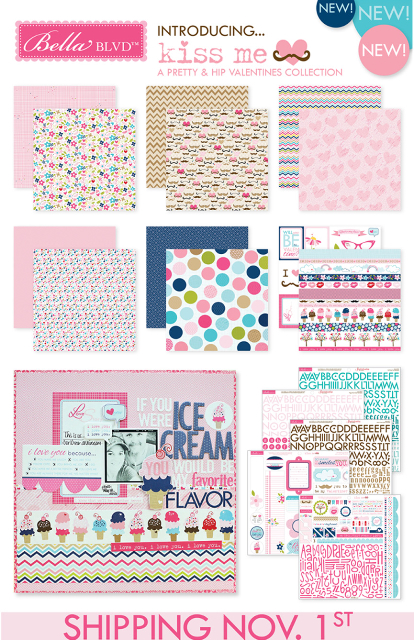
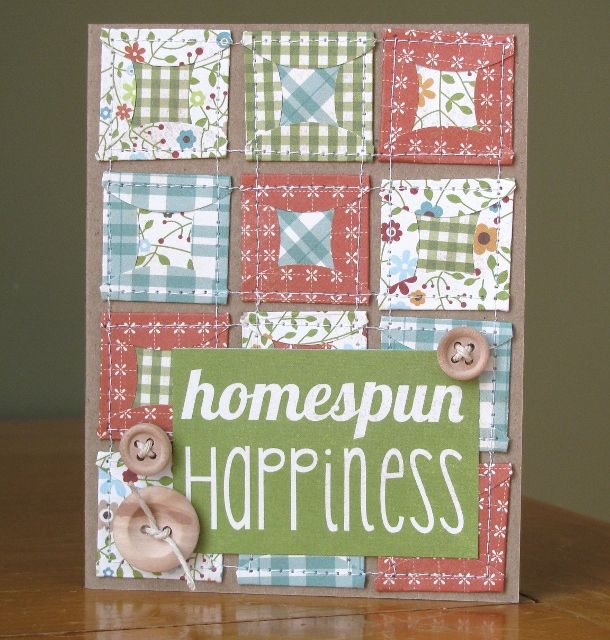
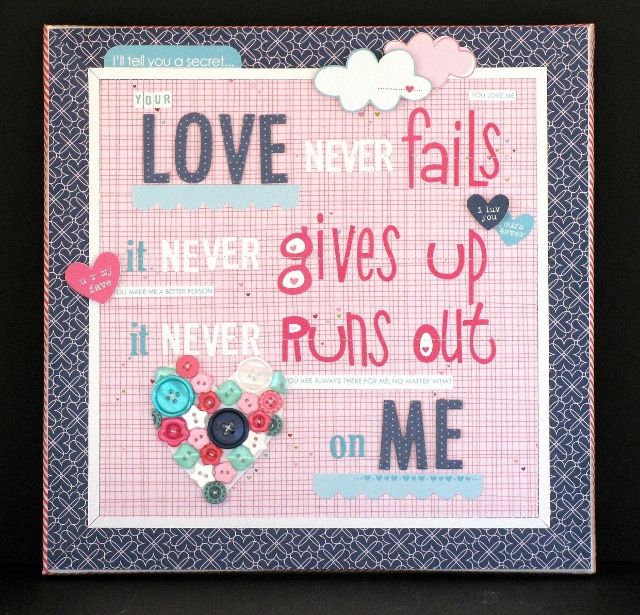
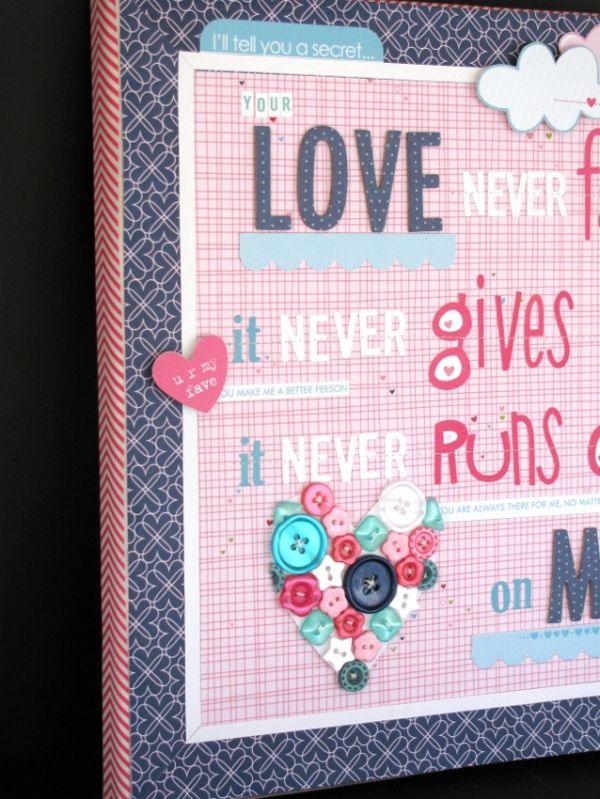
I've had this song in my head for awhile now from Bethel Church; one night while the words were running through my mind a connection was made with what was being said and the beautiful Kiss Me Collection that had just arrived at my house and so my canvas was born.
 
Supply List:
Kiss Me: Flutter, True Love, Alpha+Bits
Sienna Chipboard Alphas: Blueberry
High Five Alpha Stickers: Brown-Cream, Blue, Gulf
Button Market: Hot Pink flowers, Neutral Mix, Gulf Squares, Outdoors, Pink Flowers, Stars, Fruit Punch, Blues
Designer Tapes: Punch Chevron
 
I placed all of my words on the canvas and actually stared at my project for a few days trying to figure out what was needed.
 
 
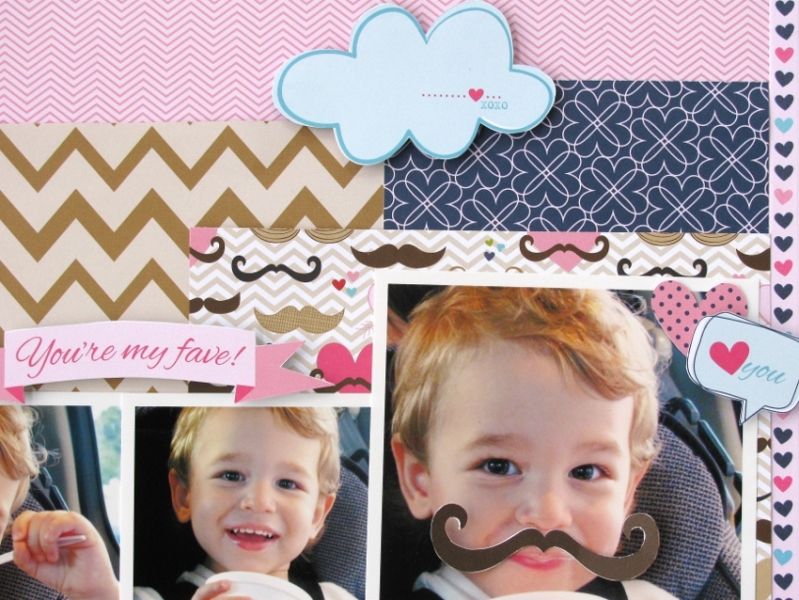
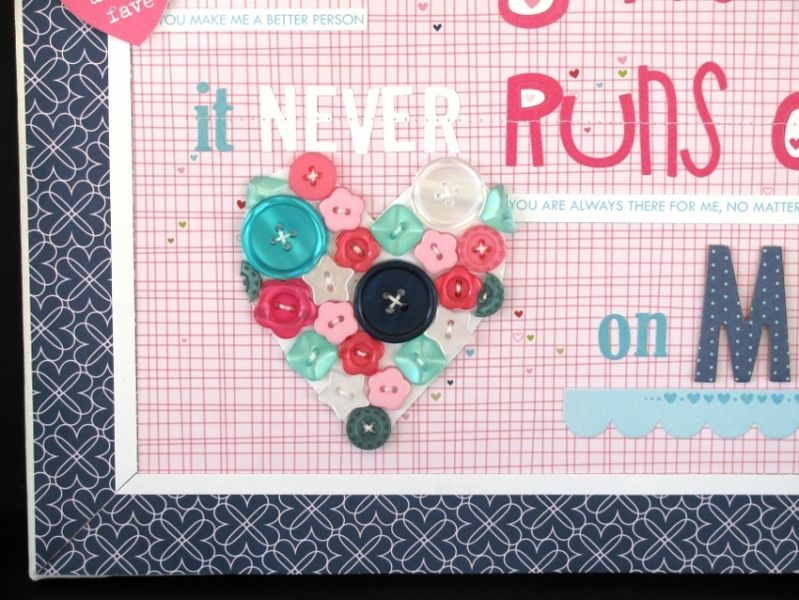
My first addition was my button heart which combined all the colors of the canvas, I then added the various Cute Cuts and some of the Just Write stickers that I cut out.
 
 
 I finished my canvas with the Punch Chevron Designer tape on the edges.


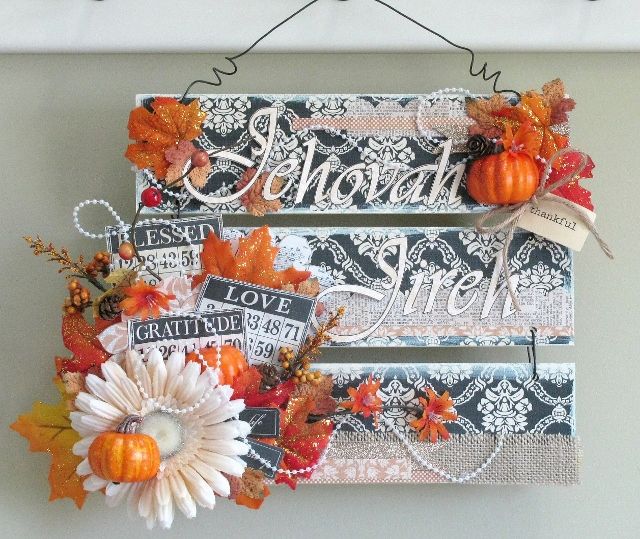
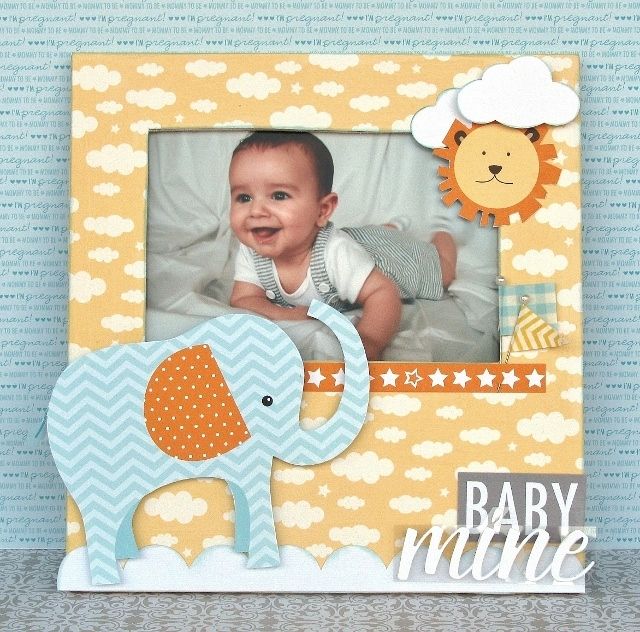
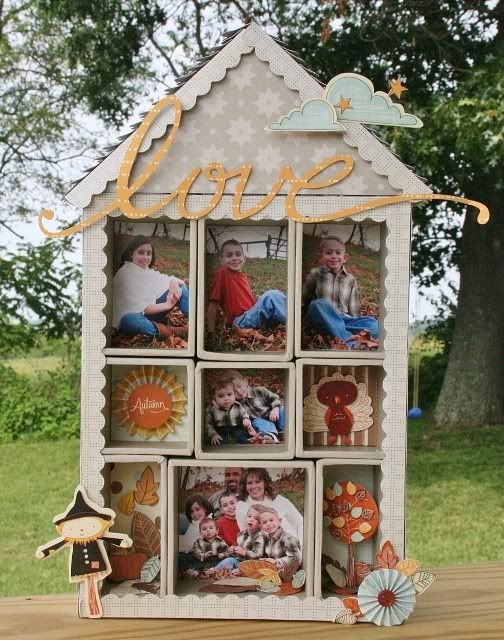
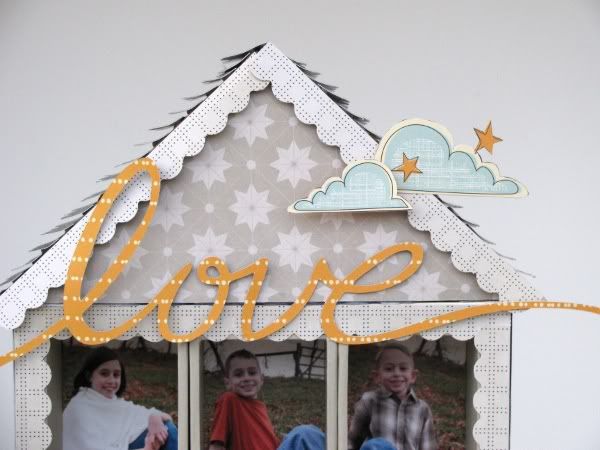
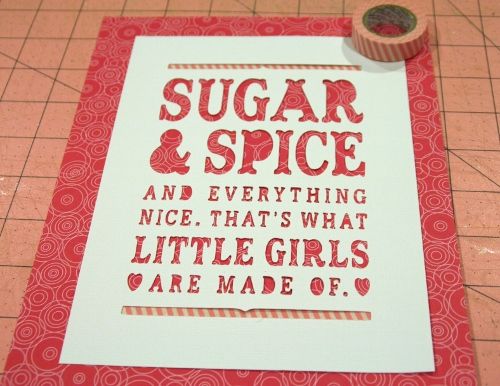
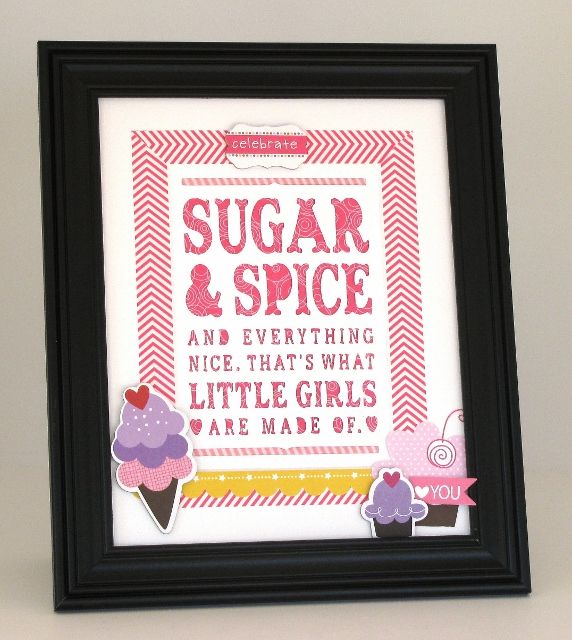
 My next project was inspired by my new little niece, she is so sweet and tiny so this frame is for her room because she is all sugar and spice!
 

Supply List:
Birthday Girl: Celebrate, Chipboard Icons, Cute Cuts, Alpha+Bits Stickers
Baby Girl: Chipboard Icons
Miniature Stickers: Card Sentiments
Designer Tapes: Punch Chevron, Piggy Pink Stripe


I used my Cricut Word Collage to cut the saying from white cardstock. I then placed some paper and designer tape behind the openings.


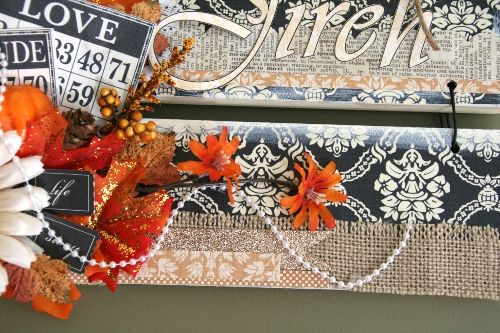
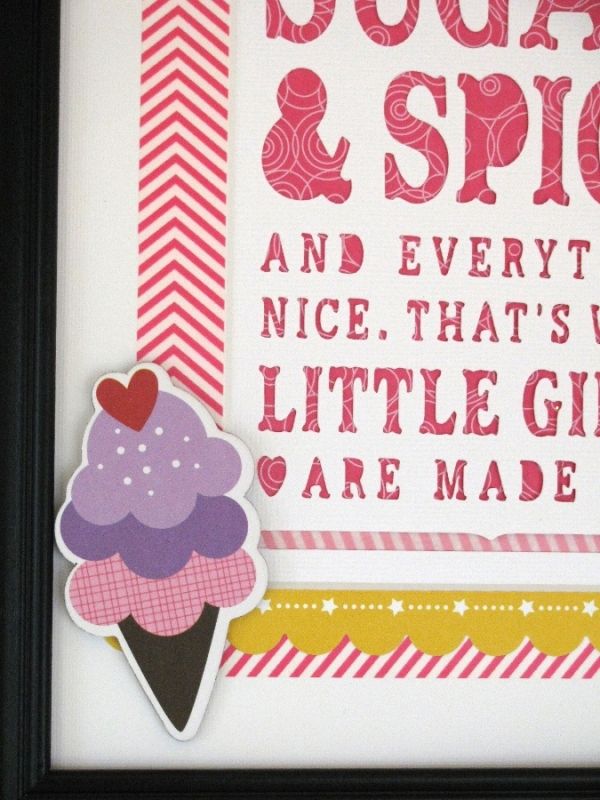
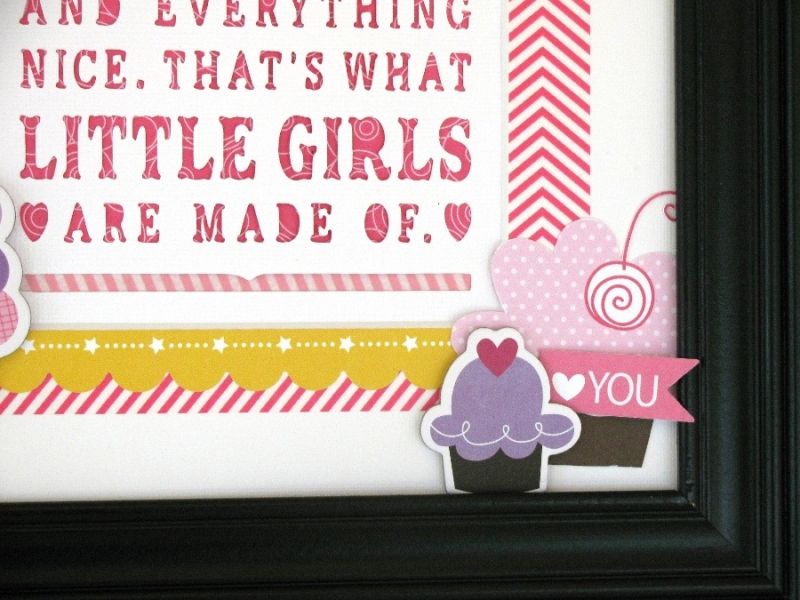
I used the punch chevron designer tape to frame the saying and added some cute cuts, chipboard pieces and stickers to finish decorating my frame.


Thanks so much for stopping by!

Saturday, October 20, 2012

How about some mustaches?

So I hadn't tried this trend yet, I guess it was my mathematical brain that was working overtime trying to analyze the purpose of mustaches.  But that all changed when I received a box of Bella Blvd's mid-release, Kiss Me


I love the colors that are in this collection so I began putting together a layout based on colors, then I searched through my pictures for something that worked with the colors I used.  When I saw these pictures of my son enjoying his ice cream I finally got the mustache trend - because he had an "Ice Creamy Mustache"!  I had so much fun creating this layout and when I showed my kids, they all started laughing - Vinny the star of the layout loves his mustache, so I would say this collection is a HUGE  hit with our family, mustaches and all!  LOL


Supply List:
Kiss Me: Flutter, True Love, Mustache Love, Borders & Cute Cuts, Alpha+Bits Stickers
Sophisticates: Brown-Cream High Five Alphabets

Friday, October 19, 2012

Wall Sugar Fall Hanger


Hi, Wendy here, I received the 3 piece - interchangeable hanger to work with from Wall Sugar this month and we were challenged to decorate with a Fall/Halloween theme.
 
Here is what arrived at my house and I had already chosen some Teresa Collins Vintage papers to use, plus a few fall items from my local Michael's store.


Hanger - 3 Piece Interchangable


And this is what I created...


Step 1:  Cover the boards with paper of choice.
Step 2:  Paint the edges of the board and the paper to give them an antiqued feeling.
Step 3:  Adhere strips of paper and burlap for interest.
Step 4:  Adhere Bingo cards and large daisy.
Step 5:  Fill in with leaves, other flowers, and pumpkins.
Step 6:  Add the pearls and words.


I love the colors of fall, but more than anything I love the time we take as Thanksgiving draws near and the end of another year to focus on the goodness of the Lord in my life. When I saw these bingo cards I knew that I wanted them to be incorporated into my project as I am filled with Gratitude for all that God has done, I am Blessed beyond anything I could have ever dreamed and it is all because God loves us. Jehovah Jireh is Hebrew for God is my Provider, this name of God is first introduced in Genesis 22. For my family and I this is who the Lord has been this year to us - our Provider.

Wednesday, October 17, 2012

Kiss Me with Bella Blvd


Believe me it is beautiful!  I have so many ideas of what I want to create with this and the colors are amazing!  Make sure you stop by the Bella blog as there is a giveaway.  Congrats Bella on a job well done, yet again! 

Monday, October 15, 2012

I'm Cycling with LYB!

You can see the announcement here, and also find details for their Winterings Call!

Here are a few layouts I created with their Christmas products from last year - I love, love, love those tapes!


Thursday, October 11, 2012

Harvest Lane projects

I received the Simple Stories Harvest Lane line to work with from Memorable Seasons this month.  The colors are really wonderful to work with, but I definitely need to take some more pictures so I can scrap with it more!

So far I have offered up some quilting challenges - both a card challenge and a layout challenge.  You should stop by Memorable Seasons and see all the wonderful quilting our ladies have done - it is amazing! 

We also had the chance to scraplift one of our members, Colette.  It was a fun challenge because Colette is a master at details that make you exclaim, wow!  You can join us for this challenge here at Memorable Seasons.  Here is the layout I created...


I have one more card and layout challenge to offer using this kit, but you will have to wait until later in the month!  Thanks for stopping by.

Tuesday, October 9, 2012

I'm up at Bella!

Today is my introduction day at Bella Blvd and I am so thrilled to be apart of such a wonderful group!  I have 2 projects up today that I created and here is another look at them

 
I love to fussy cut different items from my papers so the elephant was perfect for this!  The flags were washi tape that I wrapped around pins.
 
 
And for those of those that follow my blog you might have realized this by now, I love to make wreaths!  I totally dislike real flowers, but give me paper or fake and I can lose myself in arranging the flowers to the perfect spot.  I added in some more fussy cut items and chipboard pieces to decorate this wreath for my new niece which I just got to visit for the first time this past weekend!

And one more special event is occurring today, it is my hubby and my 13th wedding anniversary!  Hard to believe it has been that long, course on the other hand it seems like we have always been married.  I am so grateful for the relationship we have and how it has grown over the years - love you hon!

Sunday, October 7, 2012

Harvest Time blog hop

at Paper Issues starts, now!  Starting today, Oct 7th and running through the 20th you have a chance to link up your Halloween and Harvest Pages at Paper Issues for a chance to win a kit from our sponsor. 


We are so lucky to have Gossamer Blue as our sponsor for this theme! Make sure you follow them here, http://www.gossamerblue.com/ and like them on Facebook http://www.facebook.com/gbkits for a chance to win a kit!

I will leave you with a Harvest frame that I made from my Memorable Seasons kit this month - Harvest Lane by Simple Stories, love that line!

Saturday, October 6, 2012

World Card Day at Bella

Come join the fun at Bella


I'm so happy to be able to join the talented ladies there with cards all day today.  Here are the cards I made to join in the fun...


Make sure you stop by the Bella blog and see all the other wonderful cards that will be up today!

Thursday, October 4, 2012

Quilting Inspiration at Memorable Seasons

This month at Memorable Seasons we are sharing both a card challenge and a layout challenge each week, I chose to issue my challenges based on Quilting!  I pulled these patterns a long time ago, but never took the time to figure out how to do them so I started with my Harvest Lane Simple Stories kit.

Card Challenge:
Welcome to your first card challenge of the month! I know a lot of you don't make cards, but it can be fun to try new things out on a smaller canvas before jumping in to a full layout. So with that thought in mind, I decided to try a quilt pattern that I printed out awhile ago (http://davinie.blogspot.com/2010/08/cat ... paper.html). It took awhile to figure out how to best do this pattern, but by the last circle it looked great!


Here are some tips I found, b/c this was a pain in the butt at first till I caught on...
1. If your paper has a grid/line pattern - you must line up your folds or even if your square is straight it will look crooked (check out some of my orange squares).
2. I used a 2" circle punch and creased about a 1/4" on each side - a 1" square wasn't quite big enough inside the circles, but since I sewed my edges down you couldn't tell (1.5" square would have been too big).
3. I did not use double sided paper (I was using my 6x6 pad) so I had to put a square of paper inside, but if you do use double sided paper you could skip this step.
4. I creased all of my sides with my Martha Stewart scoring thing - much easier!
Layout Challenge:
Now that you all have practiced your quilt pattern in a smaller scale it is time to make a layout using a quilt pattern (it does not have to be the same one). Here is the quilt pattern that I used for my layout, http://www.allfreesewing.com/Sew-a-Quil ... Quilt/ml/1. I started a pin board with some quilt patterns here, http://pinterest.com/antenucci/quilt-patterns/


You have until October 31st to come on over to Memorable Seasons and link up your projects! 

Tuesday, October 2, 2012

Sketchy Time

I thought I'd share another layout I made for the first issue of Paper Haus Magazine, this one was for the sketch challenge.
 

I used some of my Basic Grey PB&J and a little bit of Crate Paper - this is one line that I love from Basic Grey!

Monday, October 1, 2012

Love House Directions


I hope you all enjoyed our first edition of the PaperHaus magazine - I loved it!  Here was one of my projects that I created for the magazine, enjoy!

Materials Used: American Crafts foam adhesive, Fabric-Tac, Fiskar punch, Cheery Lyn Designs, Cricut Expression, Cricut Home Decor cartridge, American Crafts Chap and NightFall, Tim Holtz Configuration box

I have been hoarding a few scrapbooking items lately and I finally decided to use them; this is the project that I created using my Tim Holtz Configuration box, American Crafts Chap line and the NightFall line.  I printed out pictures that I had taken during our yearly family photo session and cut them to fit the boxes.  I knew I wanted to use the scarecrow and tree stickers that American Crafts produced with their fall products, but I couldn’t quite get the configuration to work to my liking.  I’ve found with off the page products I need to hold the product in my hand and continue to rotate the product until a light bulb goes off – I love to look for a different way to use the products.  As I was turning the configuration box around I finally spied a house and after rearranging a few boxes I had the perfect house.  I added in the pop of yellow in the Cricut cut word Love and so was born the Love House – you can imagine with 7 of us things tend to be a little chaotic in our household, but as long as we remember to love one another things are pretty good!

I began this project by assembling my different boxes, some just have a picture, some patterned paper and stickers, and others a full scene.  I then mod podged the paper around the sides of my house to finish my house.  This still left the edges unfinished so I used my Fiskar border punch to put a decorative edge around my house and to further stabilize my project.   I also cut some fencing to put around my house because all houses should have a white picket fence in my mind!


To make the roof, I cut triangles of cardboard to fit the width of my house and then ran a long thin piece of cardboard, the depth of my house, over the edges of the cardboard.  I covered the triangles with my house pattern and then hot glued the roof section to my house.
My roofing shingles were again cut using my Fiskar border punch on the American Crafts chalkboard paper. I cut small sections to cover the cardboard roof and rolled the edges up slightly so that you could see each layer of the roof. I covered the edges with another scalloped border. 

To finish up my project I hot glued the rosette, scarecrow, clouds and love word onto my house.


Thanks so much for stopping by!